


A toad can eat massive amounts of insects in a single summer—up to 10,000, according to gardeningknowhow.com. Toads help naturally keep garden pest population under control; this voracious amphibian’s diet includes beetles, snails, slugs, spiders, flies, grubs, crickets, etc.
A source of water and shelter will attract toads. A toad house can be as simple as a placing a flowerpot upside down over a semi-circle of rocks, or by partially burying a pot horizontally in the dirt.
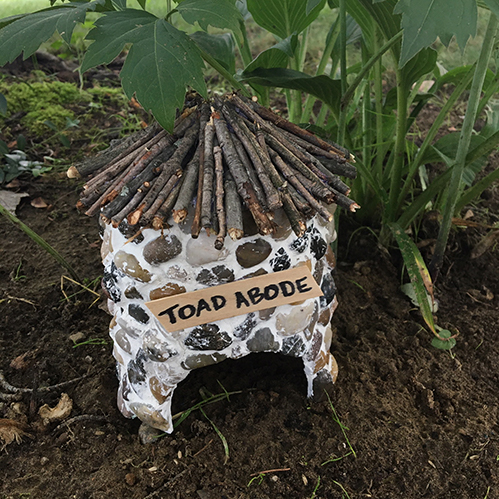
This “abode” made from items found around the house will make a cute addition to a shady spot in your garden—prime real estate any toad would love to call home.
MATERIALS
Large empty yogurt container or plastic flower pot
River rocks in various sizes
Tongue depressor or large popsicle stick (optional)
Spray paint for use on plastic in desired color (optional)
Pre-mixed tile grout (optional)
Twigs or bark (optional)
TOOLS
Thin marker
Utility knife
Hot glue gun and glue sticks
Sponge and water (optional)
1. With marker, draw a “door” on the plastic container as in Figure 1.
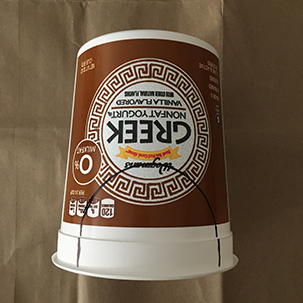
2. Use utility knife to cut out door shape. Optional: If you do not wish to use grout to fill in spaces between the rocks, paint the container at this time. Let dry completely.
3. Using hot glue, attach rocks around door as seen in Figure 2. Leave a bit of space between the rocks.
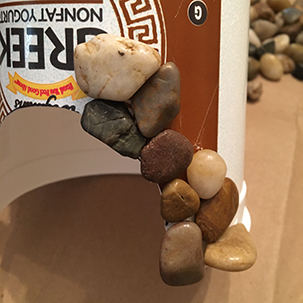
4. Cover entire container with rocks. Note: you can choose to glue rocks on top of container, or create a roof with sticks or bark in Step 6.
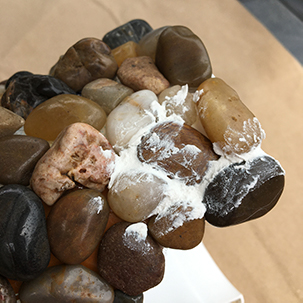
5. Optional: To grout the gaps, use your finger to press pre-mixed grout between stones as shown in Figure 3. After all gaps are filled, use damp sponge to wipe excess grout off rocks. You will need to rinse sponge multiple times until rocks are clean.
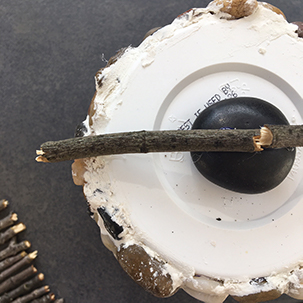
6. Optional: To create a thatch-style roof, affix a larger rock in the center of the top with hot glue. Break twigs or bark to span from center rock to just past edge of container as shown in Figure 4. Glue roof pieces in a circular pattern until roof is covered.
7. Optional: Create a sign to hang above the door. Write message on popsicle stick with marker. Cut sign to desired length with utility knife. Attach above door with hot glue.
Cathy Monrad is the graphic designer and garden crafter for Upstate Gardeners’ Journal.
Views: 22