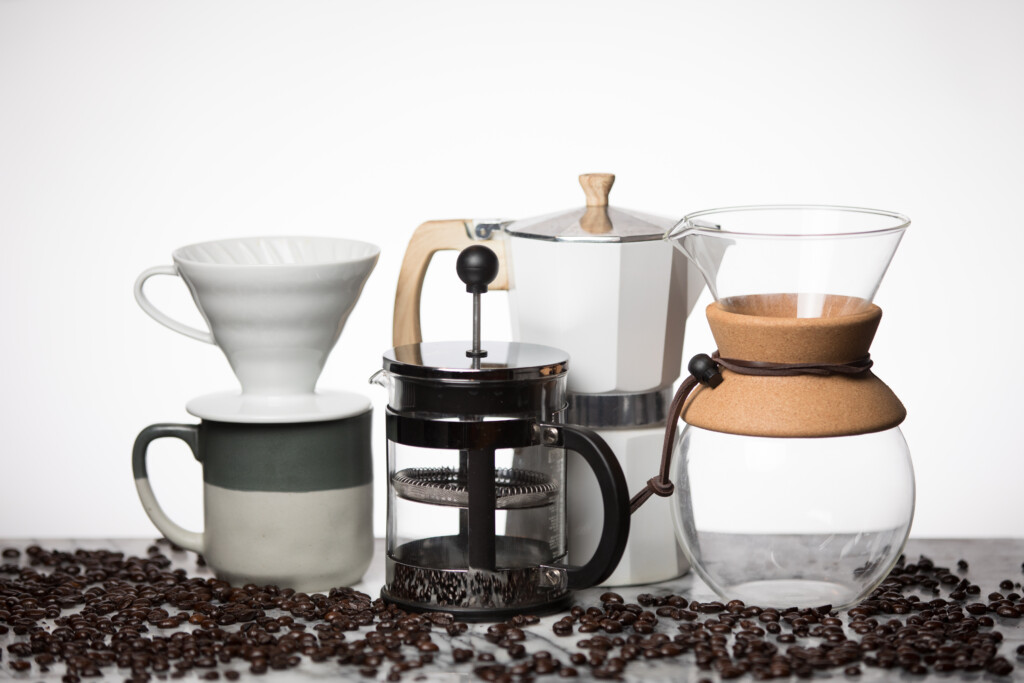
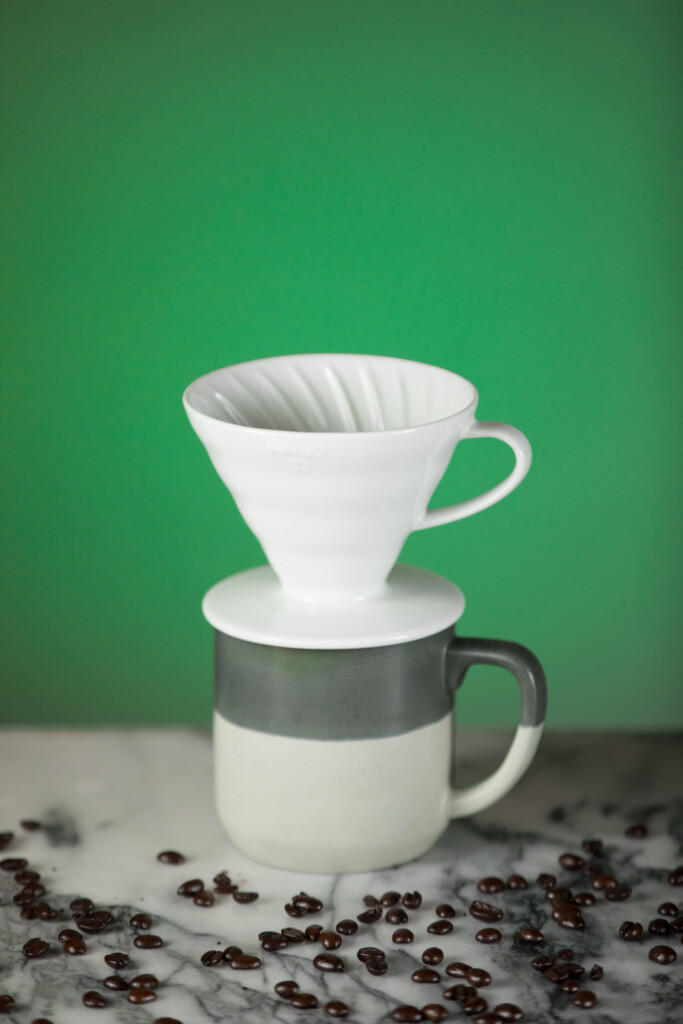
During the lockdown days of the pandemic, it seems that everyone hyperfocused on a new hobby to make the time pass. Some learned a new skill like baking bread or making art; others did things such as filming incredibly complex trickshot videos for TikTok. I passed the time by finding new and obscure ways to make coffee.
I discovered a lot during my coffee journey. Most importantly I learned that you don’t need to spend a fortune to make a great cup of coffee. I remember early on I saw videos of coffee enthusiasts showing off their $800 bean grinder or their $2,000 espresso machine or all the little gizmos and gadgets that they use in their brewing process. While all those things may help to make the best cup of coffee possible, they are unnecessary.
Great coffee at home can be achieved by simply finding a method that you enjoy using and learning the best way to do it. Alternative brewing methods do require a bit more attention; details such as size of the coffee grounds or brew times are important to know for each method. Like all things, the knowledge and the details come with practice and experience.
French press
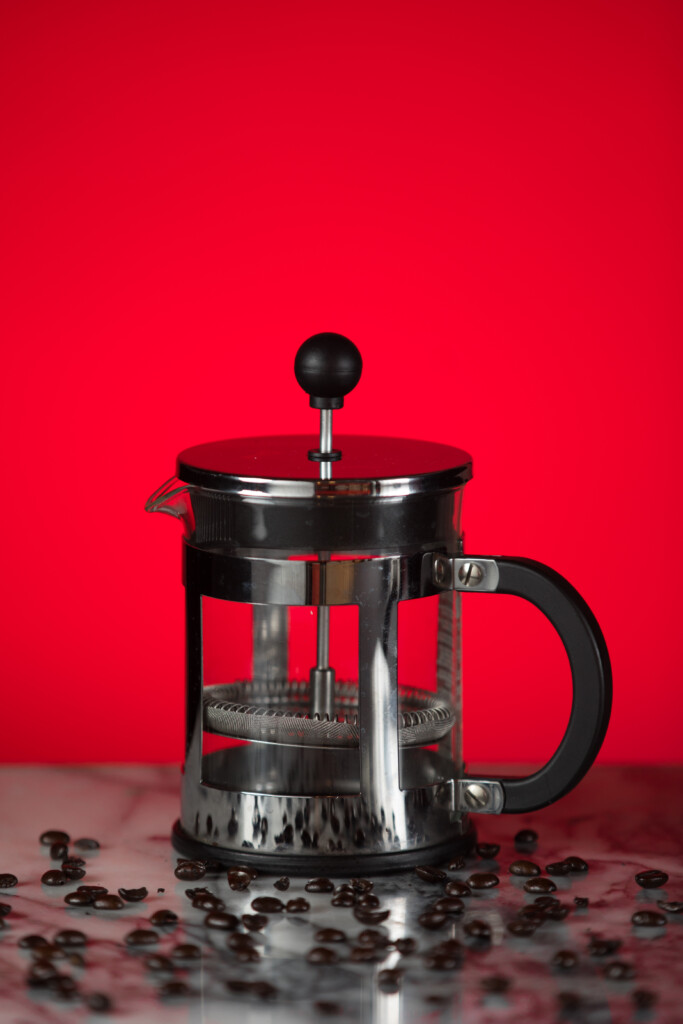
My favorite way of making coffee is the French press. It’s simple, effective, and rewarding.
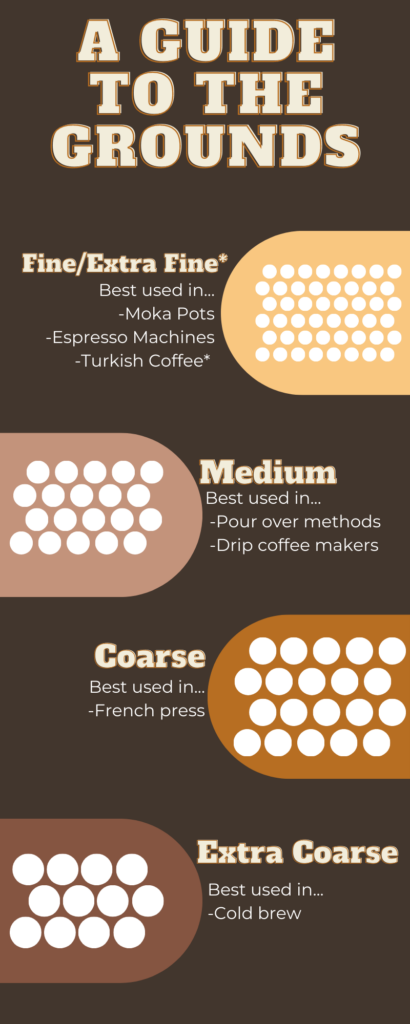
The French press is made up of two parts—the carafe and the press. You pour out a measured amount of coffee grounds into the bottom of the carafe, add hot water, and then use the press to force down and filter out the grounds. As with most other brewing methods, the devil is in the details. Paying close attention will ensure that you get the best coffee out of your French press. Let’s start with the coffee itself. The grounds should be a course grind resembling sea salt. Use about three tablespoons of grounds for every cup of water. You can add more or less depending on how strong you like your coffee.
To start the brewing process it’s best to allow the grounds to bloom. This involves pouring a slight amount of hot water into the grounds and allowing it to be absorbed. Blooming causes the coffee grounds to release any carbon dioxide before the brewing starts and helps to unlock deeper and richer flavors of the beans.
After allowing the coffee to bloom for about thirty seconds, pour the rest of the hot water into the grounds. Place your press on top and submerge grounds just below the surface of the water and let sit for four minutes. Then gently push the press down to separate the grounds from the coffee and pour immediately to prevent any over brewing.
French press coffee is truly about trial and error. Too strong? Try adding less grounds and brew for a shorter amount of time. Too weak? Try the opposite. Experimentation is key to finding your Goldilocks zone of coffee.
Moka pot
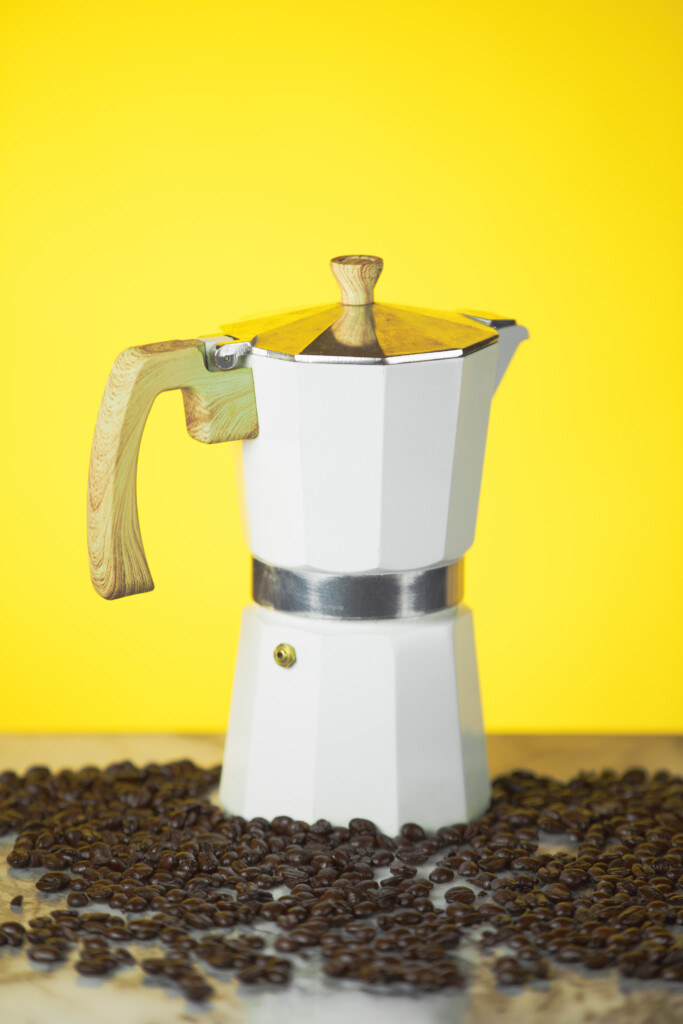
One of the most iconic coffee makers ever is the moka pot. Invented in Italy in the 1930s, the moka pot comes in all shapes and sizes and is a fun and easy way to make a great cup of espresso. Again, the devil is in the details when it comes to brewing with the moka pot, but the hard work will pay off when all is said and done.
The moka pot consists of three main parts. The boiling chamber or bottom part, which holds the water, the basket, which holds the ground coffee, and the collecting chamber, which the brewed coffee will pour into. When placed on a stove top, the water will boil, and the pressure from the steam will force water up through the basket where it will brew with the coffee and then percolate into the collecting chamber.
To start brewing, preheat an appropriate amount of water to fit into your moka pot depending on its size. After heating the water just before boiling, pour it into the bottom chamber and stop just before it reaches the pressure nozzle. Then add fine ground coffee to the basket, filling it all the way, and give the grounds a light tap with your finger to slightly compress them. Then go ahead and screw on the collecting chamber; use a towel or an oven mitt to hold the bottom chamber while doing this in order to prevent burns. Next, place the entire pot on the stovetop and heat the pot on high.
You will hear the water start to boil, smell the coffee brewing, and see some steam coming out of the spout on the top. Make sure to leave the lid covered on the collecting chamber to prevent hot coffee from spurting everywhere. Once you hear the pot starting to make a rapid boiling noise, gently remove it from heat and run the bottom chamber under some cold water to stop the brewing.
Lastly, pour out your espresso and use it however you like. Moka pot coffee can be very strong, so to make it a bit more palatable, dilute it to preference.
Brewing with a moka pot is a lot of fun and is a rewarding experience. However, when working with any hot liquids, especially when there is steam involved, use extreme caution to prevent any burning or injury.
Pour-over/Chemex
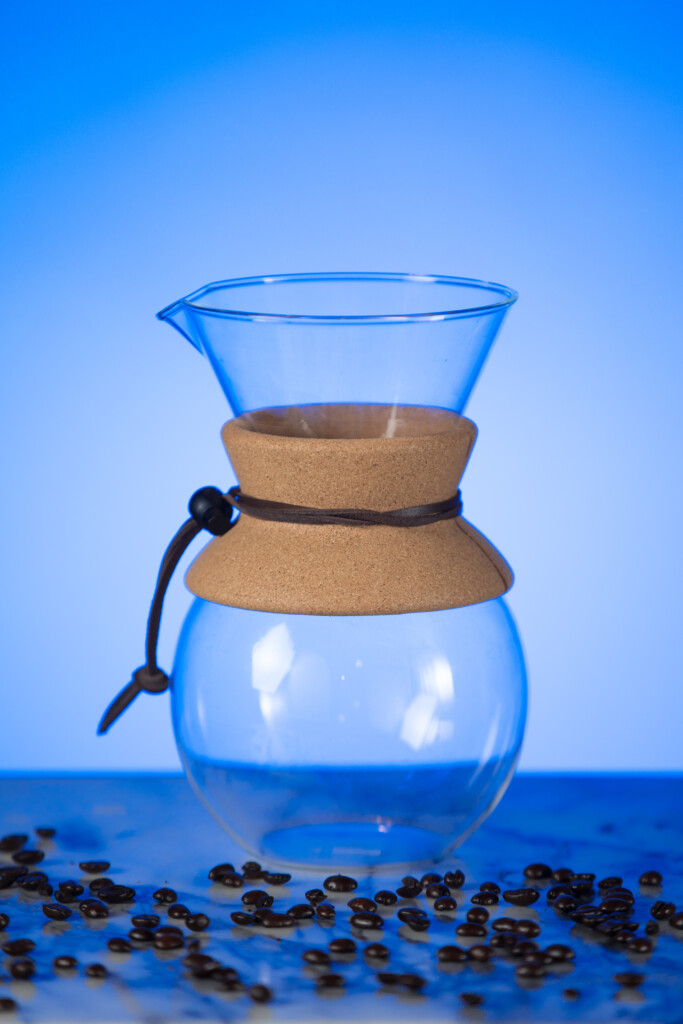
The Chemex is another iconic design that can easily be recognized by its chemistry beaker design. While a beautiful piece of equipment, the Chemex is simply another pour-over method—a way of brewing coffee by pouring a measured amount of water over coffee grounds.
Whether you are using a simple pour-over dripper or an entire setup such as the Chemex, pour-over coffee is a great way to create an incredibly flavorful cup of coffee.
Pour-over coffee is also one of the simplest brewing methods, made up of only two pieces of equipment, the dripper and a filter. The dripper can be a simple ceramic cone that can be placed on top of a mug or decanter, or something like the Chemex, which includes a reservoir to collect the coffee. The filter is placed into the dripper, the coffee grounds into the filter, and then water poured on top to brew the coffee. A gooseneck kettle is recommended to make pouring easier, but a regular stovetop teapot works fine, too.
To start, pour-over coffee requires a medium to medium-course grind. If you are using a scale to measure, use about thirty grams of coffee for every 350 grams of water or two tablespoons of coffee for every cup of water.
To begin brewing, add your filter and then add your measured amount of coffee and lightly tap to make it even. If you’re using a scale, place the entire setup on top and zero it out.
Next, like with the French press, the grounds need to be bloomed. Pour about sixty grams of water, or enough to saturate all the grounds, starting in the center and then spiraling out to the edges. Let the grounds bloom for about thirty seconds. Next pour more hot water using the same spiraling motion, about ninety more grams or enough to barely submerge the grounds. Let the water filter and repeat by adding a bit of water and pausing to let it drain for two or so more pours. When all the water has been poured, remove the grounds and enjoy.
Cold brew
A recent phenomenon, cold brew coffee is simply brewing coffee without the use of hot water. Despite its name, the coffee shouldn’t be brewed with actual cold water but instead room temperature.
Cold brew kits can be found online, and they can be as simple or complex as you like. Some involve placing the grounds in a bag that is then submerged in the water; others include a built-in filter. Either way, the key to cold brew coffee is time.
To start, use an extra-course grind resembling rock salt. The amount of coffee can be adjusted to preference, but a good balance is a one to eight coffee to water ratio, about two tablespoons of coffee for every cup of water.
Next add the coffee to the water and let sit on a counter for eight to twelve hours, agitating the setup periodically to ensure an even brew. If after twelve hours the coffee is still a little weak, let it brew for up to twenty-four hours. Afterward, filter out the grounds and enjoy your coffee.
Making coffee at home can be a fun and rewarding experience. Not only are you learning a new skill, but somehow putting time and effort into handcrafting your coffee helps it taste so much better. The world of coffee is so much bigger than Keurigs and Starbucks, and these methods are only a few ways out of many to make great coffee at home.
This article originally appeared in the March/April 2023 issue of (585).
Views: 6


