


MATERIALS
Pre-made blank gift tags, about 2 by 3 inches Ink pad in desired color; I used “pine”
Arborvitae cutting about 2–3 inches long
A few pieces of scrap paper
Piece of wax paper, slightly larger than arborvitae cutting
Fine tip marker in desired color
STEPS
1. Remove a few rows of foliage from bottom of arborvitae cutting to reveal stem.
2. Place cutting face up on scrap paper. Press finger on stem to hold cutting in place, then dab cutting with inkpad until fully coated.
3. Carefully lift cutting by stem, then place inked side down on clean area of scrap paper. Cover arborvitae with wax paper to keep fingers clean.
4. Use finger to hold wax paper and cutting in place. Use other hand to gently rub cutting from bottom to top to ensure ink is transferred to paper.
5. Remove wax paper and cutting to reveal result.
6. Practice steps 2 through 5 until you are happy with the outcome.
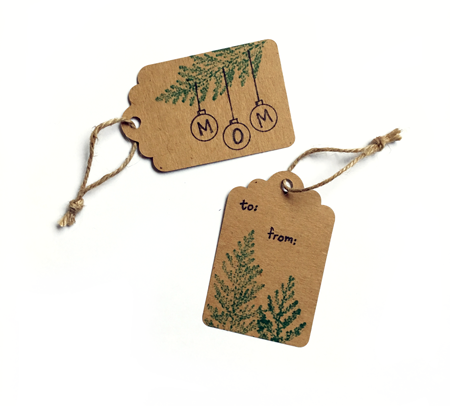
7. Once technique is mastered, stamp gift tags as desired.
8. When ink is dry, use fine tip marker to embellish design or simply write greeting on tag.
ADDITIONAL IDEAS
Use arborvitae to stamp designs on plain wrapping paper, gift bags or notecards.
Views: 0